The Art of Drying and Storing Herbs: Preserving Flavor and Aroma at Home
The Art and Science of Preserving Herbs
Herbs can transform any dish, but their freshness is often fleeting. Fortunately, the art of drying and storing herbs allows you to enjoy the taste of summer, even in the winter months. With a few simple techniques, you can capture their rich flavors and aromas right in your own kitchen, transforming your culinary experience year-round.
Why Drying Herbs?
Preserving herbs through drying not only extends their longevity but also enhances their taste profile. Here are some key advantages:
- Enhanced shelf life: Dried herbs can last for months or even years when stored properly, making them a reliable pantry staple. For instance, oregano may keep its flavor for up to three years if sealed in an airtight container.
- Intensity of flavor: Drying concentrates the essential oils found in herbs, intensifying their flavor. For example, a sprinkle of dried basil can provide a bolder taste compared to its fresh counterpart, allowing a little to go a long way.
- Accessibility: Have you ever been in the middle of cooking only to realize you’re out of fresh herbs? Dried herbs eliminate this hassle, as they can be conveniently stored, ensuring that flavorful seasoning is always just a reach away.
Key Considerations for Success
Before diving into the world of herb preservation, keep these essential tips in mind to ensure success:
- Choose the right herbs: Not all herbs lend themselves well to drying. Varieties such as basil, thyme, and oregano dry especially well, retaining a strong flavor. Conversely, herbs like parsley and cilantro may lose their potency once dried.
- Harvesting time: For the best flavor, pick herbs in the morning after the dew has dried. This helps to lock in their essential oils and robust flavors. Try to avoid harvesting herbs in the heat of the day, as this can cause wilting and diminished quality.
- Storage methods: Storing dried herbs properly is crucial. Use glass jars, vacuum sealers, or breathable bags to keep moisture out and preserve flavor. Label each container with the herb name and the date of drying for easy identification later.
As we unravel the various drying methods—from air drying and oven drying to the use of dehydrators—and explore specific storage techniques, you will become a master in preserving the delightful essence of your favorite herbs. Dive into the flavorful journey that awaits and discover how to make the most of your culinary creations.
DISCOVER MORE: Click here to learn how to create your own herb blends</

Methods of Drying Herbs
With an understanding of why drying herbs is beneficial, it’s time to explore the various methods available. Each technique has its own merits and can cater to different preferences and situations. Whether you opt for air drying, oven drying, or using a dehydrator, the goal remains the same: to lock in the vibrant flavors and aromas of your herbs while creating a convenient storage option for later use.
Air Drying: Nature’s Way
Air drying is the simplest and most traditional method of preserving herbs. As the name suggests, this technique takes advantage of the air’s natural circulation to remove moisture from the herbs. Ideal for sturdy herbs like rosemary, thyme, and sage, air drying requires no special equipment and can be done in your own kitchen. Follow these steps for successful air drying:
- Gather your herbs: Select mature, dry herb stems. Too much moisture will lead to mold, so ensure they are dry to the touch.
- Bundle them up: Take several stems and tie them together with kitchen twine or a rubber band, forming small bundles.
- Hang them in a cool, dry place: Suspend the bundles upside down in a well-ventilated area, away from direct sunlight. A dark cupboard or a shaded porch works well.
- Check for readiness: After a week or two, gently check the herbs. They are ready when the leaves crumble easily between your fingers.
Oven Drying: Quick and Convenient
If you need your herbs dried in a hurry, the oven method is remarkably efficient. While it requires a little more attention than air drying, it’s perfect for those with limited time. Here’s how to do it:
- Preheat your oven: Set your oven to the lowest temperature possible, usually around 180°F to 200°F.
- Prepare your herbs: Wash and pat the herbs dry. Spread them out in a single layer on a baking sheet lined with parchment paper.
- Monitor closely: Place the baking sheet in the oven and leave the door slightly ajar to allow moisture to escape. Stir the herbs every 15 minutes to ensure even drying.
- Cool and store: After approximately 1-4 hours (depending on the herb), once the leaves are crispy, remove the tray and let the herbs cool before storing them in airtight containers.
Using a Dehydrator: The Modern Approach
For those who want a fuss-free and consistent drying experience, a food dehydrator can be a worthwhile investment. This method preserves the herbs’ vibrant color and flavor, ensuring a high-quality end product. Here’s a streamlined process to follow:
- Prepare the herbs: Similar to the other methods, wash them and make sure they are free from moisture.
- Arrange them in the dehydrator: Lay the leaves out evenly on the dehydrator trays, ensuring they aren’t overlapping.
- Set the temperature: Usually, a temperature of around 95°F to 115°F works best for herbs.
- Check for doneness: Most herbs will take anywhere from 4 to 12 hours to dry thoroughly, so monitor them and store them once they are crumbly.
No matter the method you choose, mastering the art of drying your herbs can be an enjoyable and rewarding aspect of home cooking. In the next section, we will delve deeper into storage techniques to ensure maximum longevity and flavor retention in your dried herbs.
The Art of Drying and Storing Herbs: Preserving Flavor and Aroma at Home
When it comes to enhancing culinary experiences, the drying and storing of herbs is an ancient art that not only preserves their flavor and aroma but also extends their shelf life, allowing one to enjoy a garden’s bounty throughout the year. The methods employed in drying herbs can vary, each with its unique benefits and considerations.
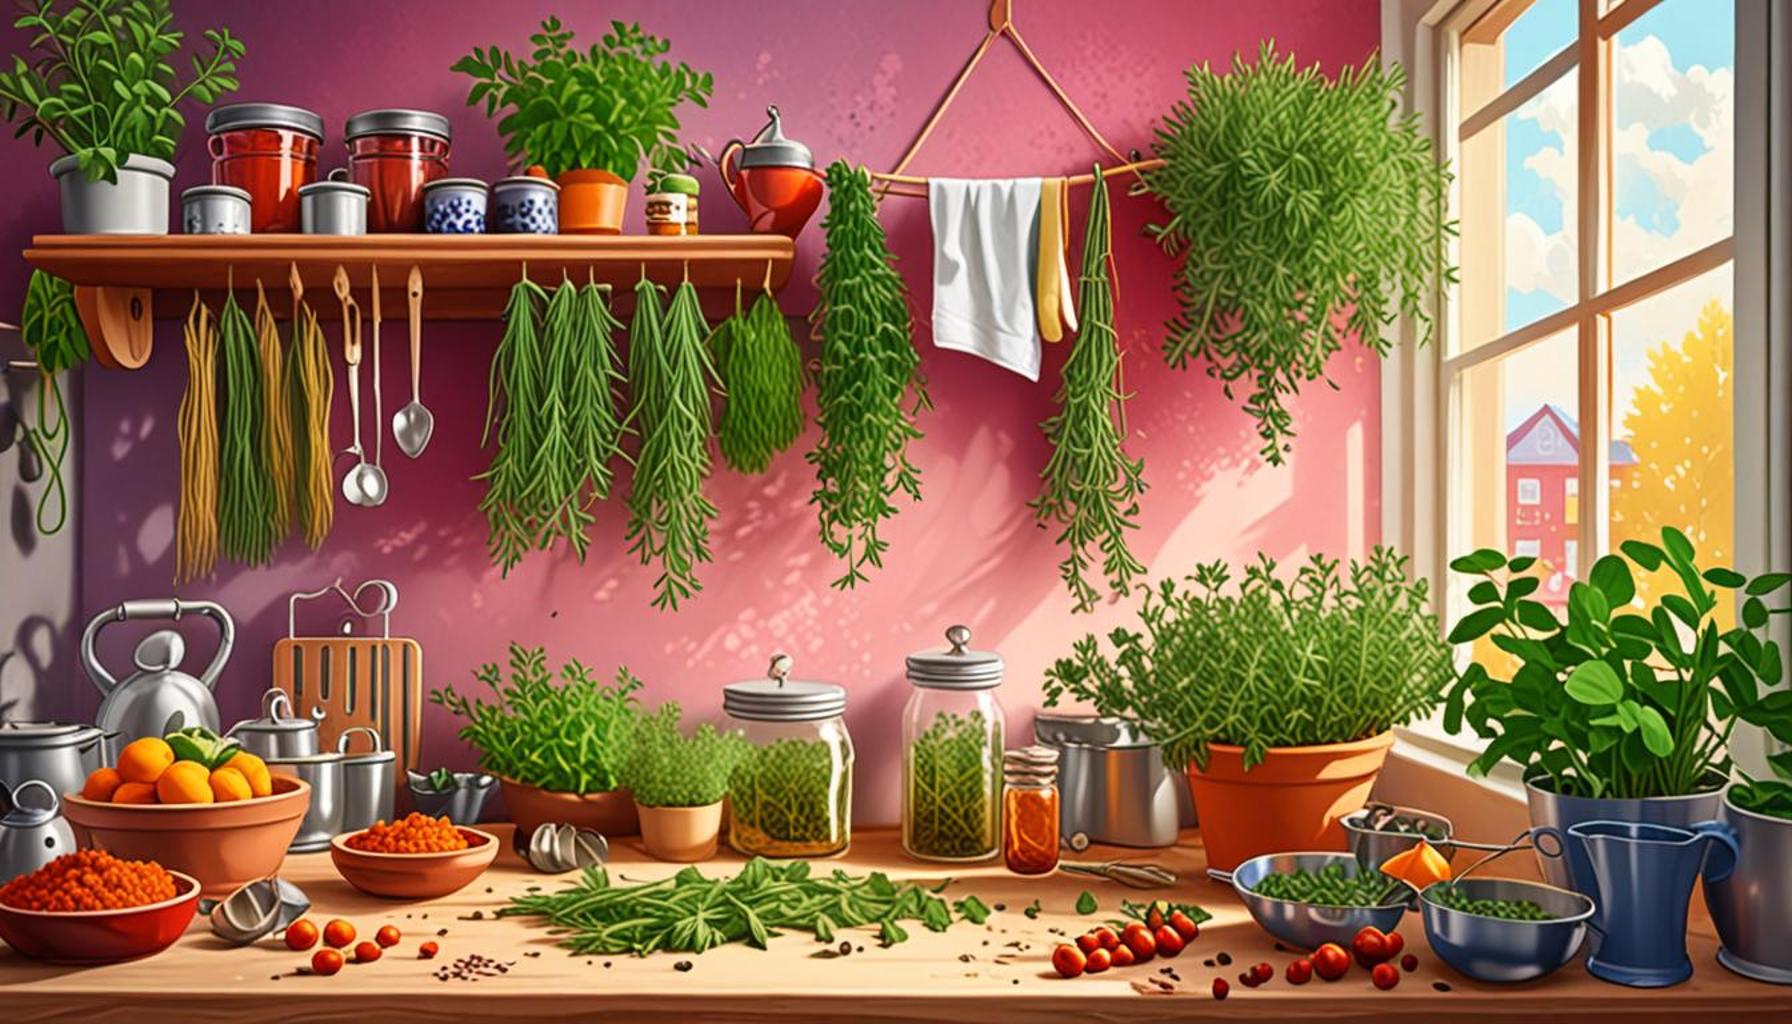
One popular technique is air drying, which is especially effective for herbs with low moisture content like thyme and oregano. This method typically involves tying small bunches of herbs and hanging them upside down in a dry, well-ventilated area. Ensuring that the herbs are spread apart allows optimal airflow, reducing the risk of mold and maintaining the vibrancy of their essential oils.
Another efficient method is using a dehydrator, which offers precise temperature control and quicker drying times. This technology is fantastic for herbs like basil and parsley, which are more delicate and need careful handling to avoid losing their precious oils. Utilizing a dehydrator can also help in retaining the herb’s nutritional value. Remember, it’s essential to store dried herbs in airtight containers, ideally in a cool, dark place, to prevent light and moisture from degrading their quality over time.
Lastly, storing herbs in olive oil or vinegar can infuse these liquids with their flavors, offering a culinary advantage in various recipes while prolonging the freshness of the herbs. This method also adds an artistic flair to kitchen preparations, as you can achieve visually appealing herb-infused oils that tantalize the senses.
| Drying Method | Benefits |
|---|---|
| Air Drying | Cost-effective, retains natural flavors, ideal for hardy herbs. |
| Dehydrator Use | Quick, efficient drying with minimal flavor loss, perfect for delicate herbs. |
Learning the art of drying and storing herbs benefits home cooks and gardeners alike, offering endless opportunities to incorporate rich traditional flavors into modern dishes. As you delve deeper into this topic, you will uncover tips and tricks that can amplify your culinary creativity while enjoying the satisfaction of preserving herbs at home.
DISCOVER MORE: Click here for a beginner’s guide to rainwater harvesting
Essential Tips for Storing Dried Herbs
Once you have successfully dried your herbs using one of the methods discussed, the next crucial step is proper storage. Preserving the flavor and aroma of your herbs hinges not only on how you dry them but also on how you store them thereafter. Let’s explore the best practices that will keep your dried herbs fresh and flavorful for months, or even years, to come.
Airtight Containers: The Key to Freshness
Keeping oxygen at bay is essential for maintaining the integrity of your dried herbs. Airtight containers are your best allies in this regard. Glass jars with tight-fitting lids, vacuum-sealed bags, or specialized herb storage systems can effectively protect your herbs from air exposure.
- Choose the right containers: Dark glass jars are ideal for preventing light exposure, which can degrade the herbs over time. If using plastic containers, ensure they are free of BPA and food-grade quality.
- Label and date: To keep track of freshness, label your containers with the herb name and the date of drying. This practice not only helps with organization but also allows you to use the oldest herbs first.
Optimal Storage Conditions
Just as important as the containers you choose are the conditions in which you store your herbs. The right environment can significantly impact their longevity:
- Cool and dark places: Aim to store your dried herbs in a cool, dark pantry or cupboard. Excessive heat and humidity can lead to the breakdown of essential oils and the loss of flavor.
- Avoid the spice rack: While it may be tempting to store them on the countertop alongside your cooking spices, the consistent exposure to light and heat from the kitchen can compromise quality. Instead, find a dedicated, stable spot for optimal preservation.
Avoiding Moisture: A Common Foe
Moisture is a significant enemy to dried herbs as it can lead to mold growth and spoilage. Implement these measures to keep moisture at bay:
- Desiccants: Consider adding food-grade desiccants, like silica gel packets, to your storage containers to absorb any residual moisture and prolong shelf life.
- Keep utensils dry: When using herbs, always ensure your hands or measuring spoons are dry before reaching into the container. This minimizes the risk of introducing moisture.
Monitoring Freshness
Dried herbs can maintain their optimal flavor for up to 1-3 years, depending on the type of herb and the storage conditions. To ensure they stay fresh:
- Smell and taste tests: Regularly check the aroma and flavor of your dried herbs. If they smell flat or lack intensity, it may be time to replace them.
- Visual inspection: Look for any discoloration, clumping, or signs of mold. If any of these issues arise, it’s best to discard the affected herbs.
By paying attention to storage fundamentals, you safeguard the flavors and aromas that make your dried herbs an essential staple in your kitchen. As you hone your skills in the art of drying and storing herbs, you will discover the joy of savoring fresh, vibrant flavors long after the growing season has ended. Up next, we will explore some creative ways to use your dried herbs in everyday cooking.
LEARN MORE: Click here to discover how to create your own terrarium
Conclusion: A Flavorful Journey Awaits
In the enchanting world of herb preservation, mastering the art of drying and storing herbs can elevate your culinary creations and offer a dashboard of flavors right at your fingertips. From selecting the right drying method to using airtight containers and ensuring optimal storage conditions, each step plays a vital role in shielding these aromatic treasures from degradation. Remember that dried herbs not only serve as a flavorful addition to meals but also carry the essence of their fresh counterparts, allowing you to enjoy the vibrant tastes of seasonal herbs throughout the year.
As you embark on this flavorful journey, it’s essential to keep your herbs in cool, dark places, away from humidity and direct light. This diligence will help retain their aromatic and taste properties, ensuring they enhance your dishes with the same passion as when they were freshly picked. Regular monitoring for freshness allows you to stay connected with your culinary pantry, making it easy to use the herbs while they’re at their prime.
Therefore, take a moment to savor the fruits of your labor, and allow yourself the joy of experimenting with dried herbs in your cooking. Whether you add them to stews, sprinkle them over roasted vegetables, or infuse oils for dressings, the potential is limitless. As you refine your skills in the art of drying and storing herbs, not only will you preserve their flavor and aroma, but you will also cultivate a deeper connection to the ingredients that might just inspire your next culinary masterpiece. So, roll up your sleeves and start transforming your kitchen into a haven of enticing aromas and flavors.